Becoming a first-time homeowner is an exciting milestone, but it also comes with new responsibilities. One of the most common issues you’ll face is drywall damage. Since drywall makes up most of your home’s interior walls and ceilings, learning how to repair it is an important skill. While the idea of fixing walls may sound complicated, most drywall repairs are simple, affordable, and can be done with some patience and the right tools.
This guide explains everything you need to know as a beginner—why drywall repair matters, the different types of damage, the tools required, and step-by-step methods to restore your walls so they look brand new.
Why Drywall Repair Is Important
Drywall gives your home a smooth, finished appearance. If it gets damaged, it can make your house look poorly maintained. Even small cracks or dents can stand out, especially if you have freshly painted walls. Beyond appearance, drywall problems can also:
- Lead to bigger issues: Small cracks can widen over time if ignored.
- Affect resale value: Buyers often look for signs of poor maintenance.
- Allow moisture to spread: Unrepaired water damage can cause mold.
Fixing drywall early keeps your home in good shape and saves you from costly repairs later.
Common Causes of Drywall Damage
Understanding what causes drywall damage helps you prevent it in the future. Here are the most common reasons:
- Nail pops – When nails or screws push through the surface due to wood framing movement.
- Cracks – Usually caused by natural settling of the house or temperature changes.
- Small holes – From picture hangers, shelves, or wall decorations.
- Large holes – From accidents, such as furniture hitting the wall or a doorknob making contact.
- Water damage – Caused by leaks from plumbing, roofs, or windows.
- General wear and tear – Everyday living often leaves dents, scratches, or scuffs.
Tools and Materials You’ll Need
For drywall repair, you don’t need to be an expert or invest in expensive tools. Here’s a beginner’s list:
- Utility knife (for cutting drywall)
- Sandpaper or sanding sponge (for smoothing surfaces)
- Putty knife (for spreading compound)
- Joint compound or spackle (to fill holes and cracks)
- Drywall patches or mesh tape (for medium to large holes)
- Drywall screws (for replacing large sections)
- New drywall sheet (if replacing damaged areas)
- Primer and paint (for finishing)
- Paintbrush or roller (to blend repairs with the wall)
Step-by-Step Guide to Drywall Repair
1. Fixing Small Holes and Dents (Nail Holes, Scratches, Tiny Dents)
These are the easiest repairs:
- Clean the damaged area with a cloth to remove dust.
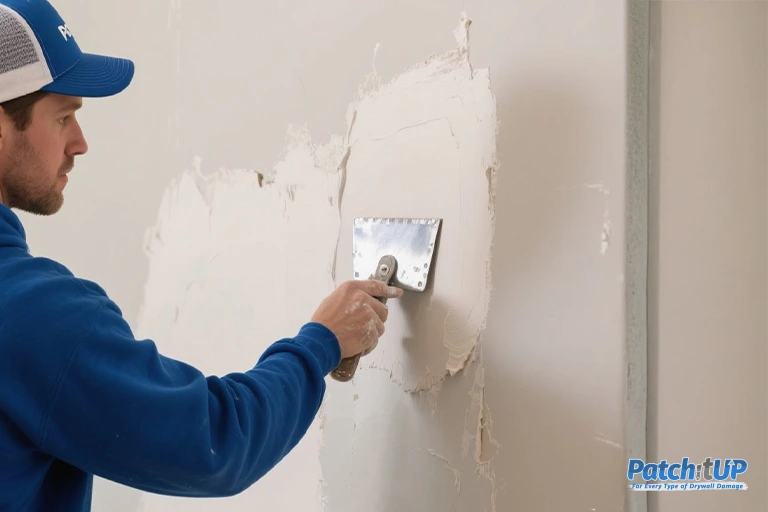
- Apply a small amount of joint compound with a putty knife.
- Smooth the compound so it’s level with the wall.
- Let it dry completely.
- Sand lightly until smooth.
- Apply primer and then paint to match the wall.
2. Repairing Medium-Sized Holes (Doorknob Holes, 2–6 Inches)
For holes too big for spackle but not requiring a full sheet:
- Place a self-adhesive mesh patch over the hole.
- Spread joint compound over the patch with a putty knife, feathering the edges so it blends with the wall.
- Let it dry, then sand smooth.
- Apply a second coat of compound if needed.
- Prime and paint over the repair.
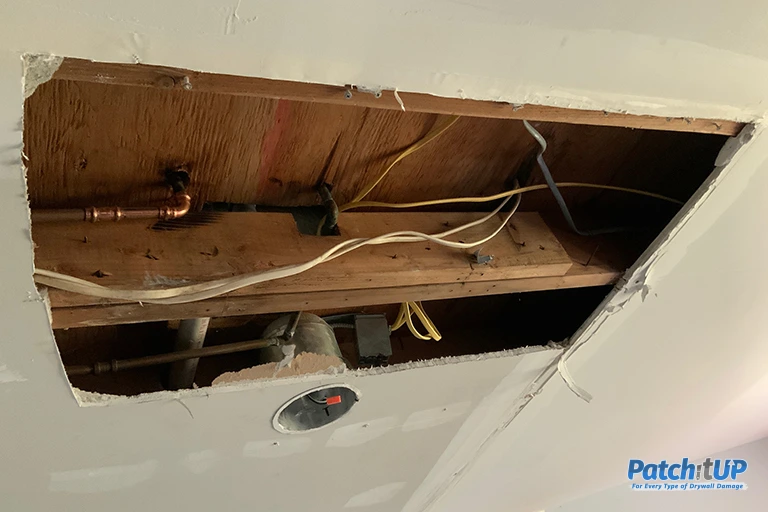
3. Replacing Large Sections or Water-Damaged Drywall
If the hole is larger than 6 inches or drywall is soft and stained:
- Use a utility knife or drywall saw to cut a neat square around the damaged area.
- Measure the opening and cut a new piece of drywall to fit.
- Secure the new drywall with screws into the wooden studs behind the wall.
- Place drywall tape over the seams.
- Apply joint compound in thin layers, allowing each coat to dry before adding the next.
- Sand the surface until smooth and seamless.
- Finish with primer and paint.
Pro Tips for First-Time Homeowners
- Start with small repairs: Practice on nail holes before attempting bigger jobs.
- Use thin coats of joint compound: Thick layers take longer to dry and are harder to sand.
- Allow proper drying time: Rushing between coats can cause uneven surfaces.
- Feather your edges: Always spread compound beyond the repair spot for a natural finish.
- Save leftover paint: It makes touch-ups easier and ensures a perfect color match.
- Don’t ignore water stains: These usually signal leaks—fix the leak before repairing drywall.
- Call a professional if needed: If damage is widespread or related to structural issues, it’s best to get expert help.
Final Thoughts:
Drywall repair may seem like a big task for a first-time homeowner, but it’s one of the easiest DIY skills to pick up. With some patience and practice, you can handle nail pops, cracks, and even larger holes without needing professional help. Not only will this save you money, but it will also give you confidence in maintaining your home. Over time, drywall repair will become second nature, and you’ll take pride in knowing that you can keep your walls smooth, clean, and damage-free.
FAQ:
- Can a beginner repair drywall?
A. Yes, most small drywall repairs are simple and beginner-friendly.
- How to prep for drywall repair?
A. Clean the wall, remove loose pieces, and gather tools and materials.
- How do you repair drywall step by step?
A. Patch or fill the hole, apply compound, let it dry, sand smooth, then prime and paint.
- What equipment is required for drywall repair?
A. Putty knife, utility knife, sanding sponge, joint compound, patch/tape, primer, and paint.