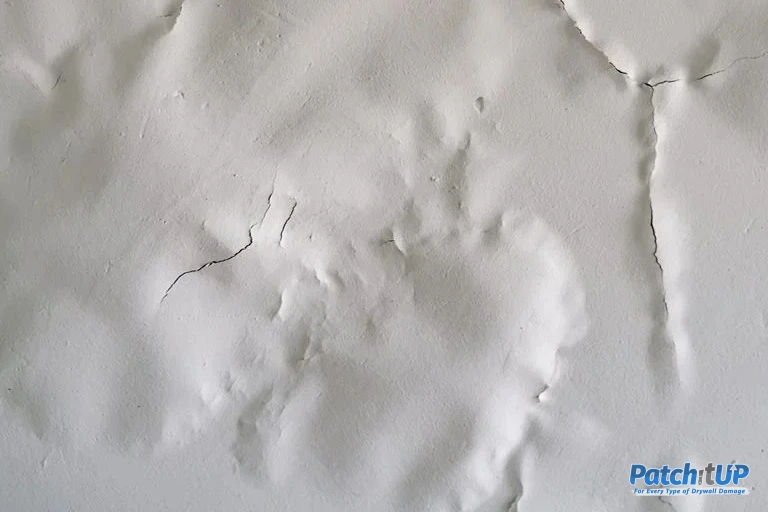
Drywall is a common material used in the construction of interior walls and ceilings. It’s known for being affordable, easy to work with, and giving a clean, smooth surface when finished properly. But over time, you might notice certain areas of your wall starting to bulge, bubble, or appear uneven. This kind of damage not only affects how your home looks but can also point to deeper structural or moisture-related issues.
Understanding what causes these drywall problems and how to fix them can help you take quick action—before the damage gets worse or spreads to other areas of your home.

Why Does Drywall Bulge or Bubble?
There are several possible reasons, and identifying the exact cause is important before you begin repairs.
1. Water Damage or Excess Moisture
This is one of the most common reasons drywall starts to bubble or bulge. If water gets behind the drywall—due to a roof leak, pipe leak, bathroom humidity, or poor ventilation—it can soften the paper layer on the drywall, causing it to separate from the surface. This creates a bubbling or bulging appearance. Over time, moisture can also lead to mold growth and weaken the entire wall structure.
Even small amounts of condensation, especially in areas like basements, laundry rooms, or bathrooms, can lead to gradual damage if not addressed early.
2. Improper Installation
Drywall must be installed with care. If the installer applied too much joint compound, didn’t let it dry between coats, or failed to press drywall tape properly, it can lead to bubbling or surface bulges. Low-quality work during installation often leads to issues that only become visible weeks or months later.
3. Drywall Tape Peeling or Lifting
Drywall tape covers the joints between sheets of drywall and helps create a seamless finish. If the tape was applied over dusty surfaces, or if moisture seeps behind it, it can lose its grip and start to lift or bubble. When this happens, it’s often easy to see raised or cracked lines on the wall.
4. Structural Movement or Wall Shifting
Over time, homes settle. As the building shifts slightly due to age, temperature changes, or foundation movement, it can create pressure points on drywall panels. These movements can lead to visible cracks, bulges, or warped areas on walls and ceilings. In older homes or in areas with poor structural support, this is especially common.
5. Temperature and Humidity Fluctuations
Inconsistent indoor climates, such as rooms that regularly shift between hot and cold or damp and dry, can cause drywall to expand and contract. Over time, this can weaken the surface or adhesives used during installation, leading to bubbling, warping, or bulging.
How to Fix Bulging or Bubbling Drywall
Once you’ve identified the cause, you can move forward with the appropriate fix. Here’s a step-by-step breakdown:
Step 1: Identify and Eliminate the Source of Moisture
Before repairing any drywall damage, you must address the root cause. Check for signs of water leaks from nearby pipes, ceilings, roofs, or windows. If the issue is caused by high humidity, consider using a dehumidifier or improving ventilation in the space.
Drywall repairs will only last if the moisture issue is fully resolved first.
Step 2: Cut Out the Damaged Area
Use a utility knife or drywall saw to carefully remove the bulging or bubbled section of drywall. Don’t just cover it up—cut back to where the material is solid and dry. Be sure to wear gloves and a mask, especially if there’s any chance of mold behind the wall.
Step 3: Let the Area Dry Completely
If any part of the wall was damp, allow it to dry fully. This may take several hours or even a day, depending on the size of the damaged area and the room’s ventilation. Use fans or a dehumidifier to speed up the drying process.
Step 4: Install a Patch or New Piece of Drywall
For smaller repairs, a drywall patch kit can work well. For larger sections, cut a new piece of drywall to fit the hole and secure it to the studs with drywall screws. Always make sure the new piece is flush with the surrounding wall.
Step 5: Tape and Apply Joint Compound
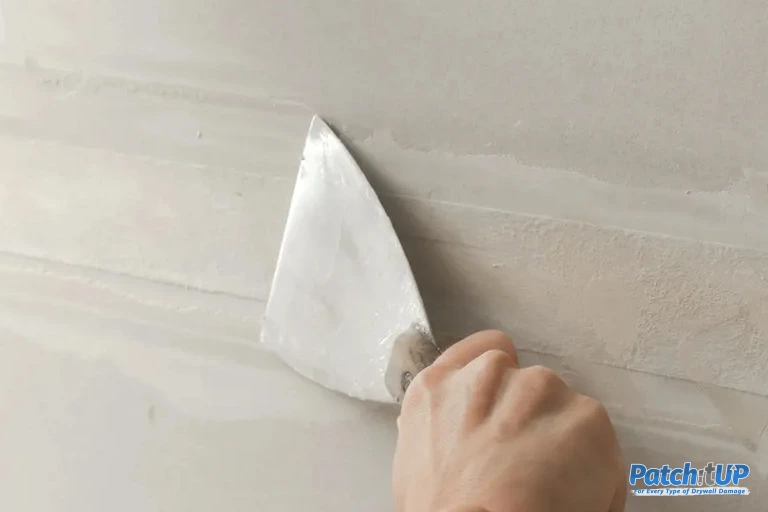
Apply drywall tape over the seams and use a putty knife to spread joint compound over the area in thin, even layers. Let each layer dry completely before sanding and applying the next one. Usually, two to three coats are needed to get a smooth finish.
Step 6: Sand, Prime, and Paint
Once the surface is smooth and dry, sand the area lightly, wipe off any dust, then apply primer. Once the primer dries, paint the area to match the rest of the wall. This will blend the repaired section with the surrounding surface.
When to Call a Professional
If the damage is extensive, caused by structural issues, or involves mold or water leaks you can’t locate, it’s best to bring in a professional. In such cases, do-it-yourself repairs may only mask the symptoms and the problem can return or worsen over time.
While iFixScreens is best known for electronics repair, they often partner with or refer to licensed professionals for home-related services like leak detection or home diagnostics. If you’re unsure about the source of the problem or how to begin the repair safely, visiting a trusted local service provider can save time and prevent mistakes.
Final Thoughts:
Drywall Bulge or Bubble is often a sign of deeper issues—whether caused by water damage, poor installation, or structural movement. Fixing the visible damage is only part of the solution. The most important step is to identify and repair the root cause first, then carefully restore the wall to its original strength and smooth finish.
By addressing the source of a Drywall Bulge or Bubble and making proper repairs—or consulting professionals when needed—you can ensure your walls stay durable, flawless, and protected against future damage.

FAQ For What Causes Drywall Bulge or Bubble—and How to Fix It!
Q: How do you fix a bulging wall?
A: Cut out the bulging area, find and fix the cause (like water damage), replace the damaged drywall, and finish with joint compound, sanding, and paint.
Q: What causes drywall to bulge?
A: Drywall can bulge due to moisture, poor installation, tape lifting, structural movement, or extreme temperature and humidity changes.
Q: How to fix a bubble in drywall?
A: Scrape off the bubbled area, sand it smooth, apply new joint compound, let it dry, sand again, and then prime and paint.
Q: How do you fix a bulging wall?
A: Identify the cause (like water or shifting), remove the damaged section, dry the area, install a patch or new drywall, and finish it smoothly.
Q. Is a Drywall Bulge or bubble a sign of structural issues?
A: Sometimes. A Drywall Bulge or Bubble can indicate structural movement, but it’s often due to water leaks or poor finishing. An inspection can confirm the cause.
Related Post :
- New Homeowner? Here’s What You Need to Know About Drywall Maintenance!
- 2025 Guide to Eco-Friendly Drywall and Insulation Materials!
- Top 5 Drywall Trends of 2025: Textures, Finishes & Soundproofing Solutions!

Leave a Reply